Printable Clocks
Click the buttons to print each organizer.
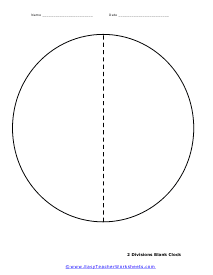
2 Divisions Blank Clock
Have students label the clock numbers using the guideline drawn from 12 to 6. This can be used to line up noon and six o 'clock well.
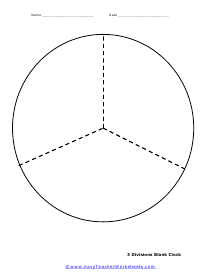
3 Section Blank
Have students label the clock numbers using the guidelines drawn from the 12, 4, and 8. This will help you break your cycle into three parts.
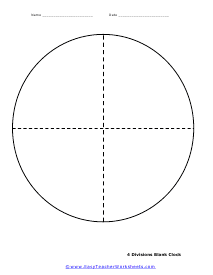
Quarter Sectioned Blank
Have students label the clock numbers using the guidelines drawn from 12 to 6 and 3 to 9. This can really help students get a hang of those hours.
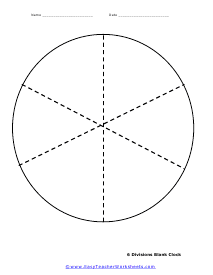
6 Section Blank
Have students label the clock numbers using the guidelines drawn from 12 to 6, 2 to 8, and 4 to 10. This is where they start to get ready to tell time.
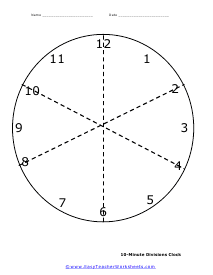
10-Minute Interval Numbered
Illustrates reading the minute hand by showing 10-minute intervals on a labeled face.
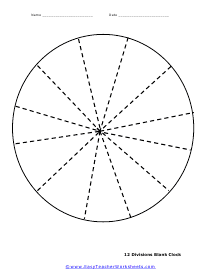
Blank Clock With Hour Divisions
Have students label the clock numbers using the guidelines drawn between every number on the clock.
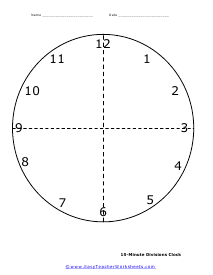
15-Minute Interval
Illustrates reading the minute hand by showing 15-minute intervals on a labeled face. This printable clock is numbered for you.
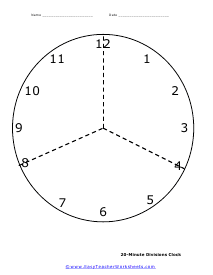
20-Minute Interval
Illustrates reading the minute hand by showing 20-minute intervals on a labeled face. You can use this in conjunction with your three part clock.
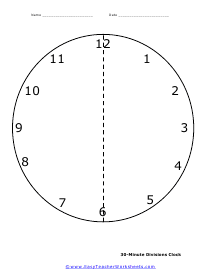
30-Minute Interval
Illustrates reading the minute hand by showing 30-minute intervals on a labeled face.

Blank Numbered
Students can practice drawing the correct hand positions on this labeled face. You are free to do what ever you would like with this printable clock.
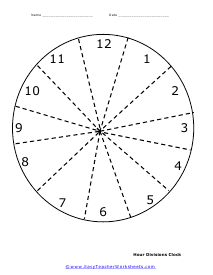
Numbered 30 Minute Hour Interval
A labeled face showing each of the 12 discrete hourly divisions. This are broken up into middline divisions. When you feel that students have a solid handle on what you are trying to do.
How To Teach Students To Tell Time With Blank Clocks
Usually, children learn to tell the time in primary school. Once they are familiar with the abstract concepts, it becomes easier to work out big problems related to time. The telling time routine must be practiced to ensure that a student never forgets how a clock works.
Let's look into how teachers can use blank printable clocks to teach students to tell time.
Before using the blank clock, a student should know time facts.
Facts About Time You Need To Teach
1. There are 24 hours in a day, and a clock only shows 12 hours.
2. Each hour has 60 minutes, and every minute is made of 60 seconds.
3. There are two types of clocks: 24-hour and 12-hour clocks; however, analog clock dials only work in 12-hour systems.
4. Explain the terms related to time, like after morning, past morning, evening, afternoon, dawn, dusk, night, etc.
5. Hands/needles move as time progresses.
6. Explain the time units and then bring a blank clock to practice.
Telling Time Using A Blank Clock
Firstly, explain the concept of the 12 hours and use the small needle which represents hours on the clock.
Then, draw the minute needle and explain the concept of 60 minutes in an hour. It can be done by telling students to use the table of five or count all the small markings between the two consecutive numbers on the clock. For example, if the bigger hand or needle is on three and the small one is also ahead of three, then it means that fifteen minutes have passed since 3'o clock.
It is also necessary to point out that when the minute hand is on 12, it means a new hour has started, or the previous one ended, e.g., if the minute hand is at 12 and the hour hand is at two, then it is not said 60 minutes have passed since one rather simply 2'o clock.
Lastly, explain the concept of the second hand on the blank clock. It works similarly to the minute needle, just faster than it. Each minor markings in between major markings represent a second or a minute passed. There are 60 markings on the clock, including major 12 and minor 48.
Now, ask the children to make needles on the blank clock for a given time, such as tell them to show 5:34:17 on the clock. The correct answer would be a second needle on two minor markings ahead of 3, the minute needle will point towards the last marking before 7, and the hour needle will be in the middle of 5 and 6.
Free printable clocks for teaching time are now available as teachers' resources on the internet. The online sites with these printable clocks can be reset and used in class and at home by children. They are user-friendly, and people can start saving paper for once.
How Clocks Can Be Used to Relate to Cycles?
We all know what clocks are! They are a representative of time, and they come in all sizes! You can wear them on your hands, keep it on your side table, or put it on your wall. But have you ever thought if there is just one function to clocks? Well, the answer is no. With clocks, there are several other things you can learn, and one such example is relating to cycles.
Now, do we know what cycles are? Let us tell you. Cycles are like a rotation in one direction, that starts from one point and takes a 360-degree turn and completes exactly where it started. There are many cycles, such as the seasonal change, the completion of the year, water cycle, and many more!
But how do we know that a cycle is completed from a clock? Easy! The clock displays a series of 12 numbers. If a cycle is started at 1, it will not be complete until it has touched all numbers and come back to 1. Similar is the case with 2, 3, and the rest of the numbers!

