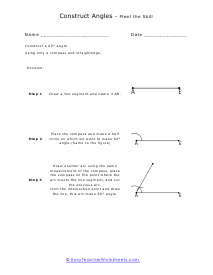
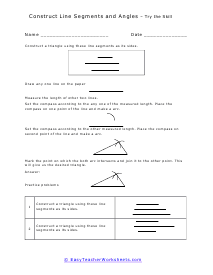
How do you draw angles with a straight edge and a compass? When you're studying geometry, you are provided with all the tools which are necessary to make geometrical figures. However, if you're provided with a straight edge or a ruler and a compass, how can you make angles on it. Let us sequentially discuss them. 1. First, start with a ray. Let A be the vertex at which the first angle will be constructed. 2. Now, let's take a compass and place the tip on A and draw an arc at point X, which cuts both A and the next B. Make sure you retain the width of the compass for the remaining steps. 3. The next step is to place the compass on X and draw another arc Y, which cuts at some point above. 4. Now, place the tip at Y and draw an arc adjacent to the previous one named Z. 5. Now, connect all of the arcs with a ruler to draw a line and extend to form a ray named AC. The measure of the angle will be 30°.
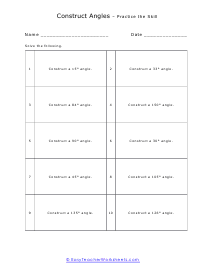
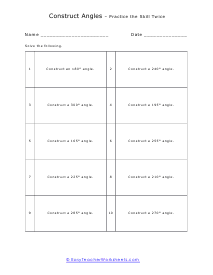
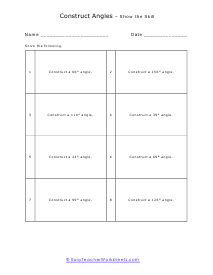
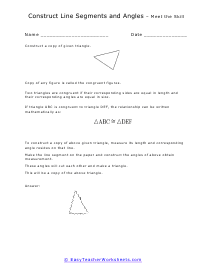
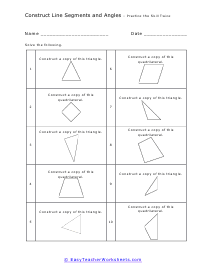
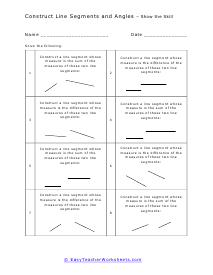
These worksheets provide you with the basic recipe for creating the angle that they fully describe. In all cases you will need a compass and a straight edge of some kind. If you have some graphing paper handy, that will always help your cause. Over the majority of the worksheets you will be assigned, you will need to draw two lines to determine a specific angle. This is often difficult for teachers to grade because they need to do the same protractor work as their students. These worksheets explain how to construct angles and line segments. Students will also learn about congruent figures by replicating given shapes.