How to Teach the Concepts of Big and Small: Teaching the difference in size generally starts when you start teaching kids opposites and the basic mathematical concepts. Teaching sizes may come as a challenge, but there are fun ways that you can incorporate to make learning easier and fun. Here are some fun ways that will help you in teaching the difference between big and small: Visuals and hands-on practice are the best way to teach almost everything to children. The same goes for teaching the difference between big and small. Collect a few objects of varying sizes and demonstrate the comparison between them. Start with one object of different sizes. For example, blocks of different sizes. Books play a vital part in teaching any concept. Many books explain the concept of big and small. These books represent the concept in a visually appealing and the simplest way, with fun examples. You can also come up with different activity ideas. To reinforce the concept, you can make your own book. Ask your children to draw different objects representing the concepts of big and small. Try using the concept of big and small in daily life. Use it in your daily conversations and show the examples present in your household. The more they observe, the better they learn.
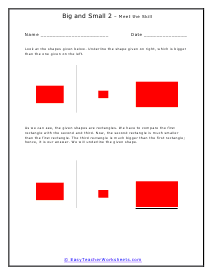
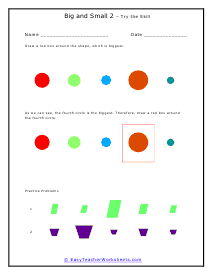
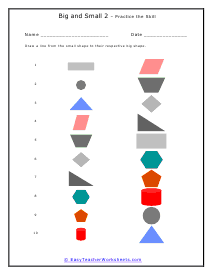
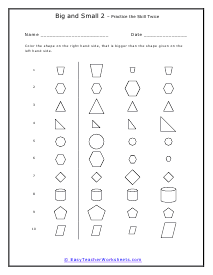
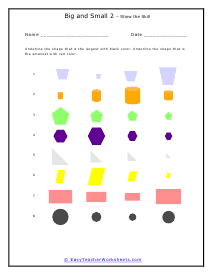
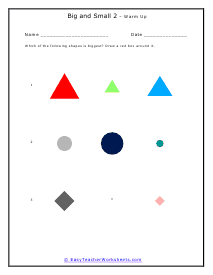
In this section we compare the relative sizes of basic shapes. This may seem like an easy skill, but this really helps students work toward understanding volume and other forms of measure. Students start by comparing two shapes, as we advance, students attack three a four shape comparisons. These worksheets explain the concepts of big and small. Students will practice comparing items of different size. Activities include highlighting specified objects and line matching.